July 20th, 2006 .
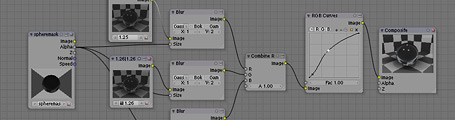
Here’s another comp test in some of my experiments with cekuhnen in the blenderartists forums. It makes use of a simple Combine RGBA node, which I wrote the other day. It doesn’t exist in Blender but a patch is available in the tracker. Without that patch though, you can replicate the functionality using a slightly convoluted node network. This technique basically takes three different versions of the refracting material, with slightly different indexes of refraction, then adds them back together in the different R/G/B channels. I’ve blurred them slightly with a mask taken from the sphere on another render layer.
It doesn’t hold up too well in close up since you can see the three different layers quite sharply, rather than a smooth blend – for that you’d need more IOR layers. I also tried doing this in material nodes too, which would be a much better approach, however the way raytraced refractions is handled there seems to be a little bit weird, and it didn’t work out. Hopefully in the future this can be cleaned up, perhaps with specific raytracing nodes that output RGB or alpha or whatever.
 A .blend file

July 15th, 2006 .
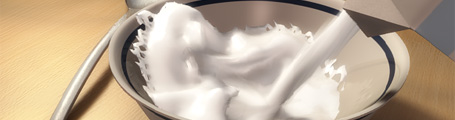
While helping prepare the Release Notes for the impending release of Blender 2.42, I’ve made a few more demo files, including for stress maps, and put together some comp breakdowns from Elephants Dream. The most fun (and slow) though, was using Blender’s fluid simulator for the first time, to make a nice demo of the new motion blurred fluid rendering capabilities.
It took an evening to set up, light and texture and overnight to render on my poor little G4, but it looks kinda cool! Guess I need a faster computer though, to use higher fluid resolutions and get rid of the residue stuck on the bowl at the end.
 A QuickTime H.264
 A MPEG4
A .blend file
July 11th, 2006 .
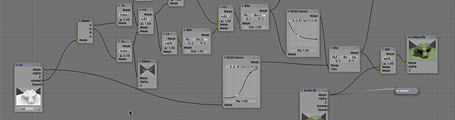
I did a bit of an experiment the other night as a proof of concept for a new node type that would be very nice. Although it’s unfinished and disabled for version 2.42, it’s planned that we’ll be able to extract an Ambient Occlusion pass into the compositor with Blender’s pass rendering system, which will make it much easier to manipulate, doing colour corrections, changing blend modes (screen/multiply/overlay are better blender modes than the built-in add/subtract/add+sub).
One very useful manipulation that could be done is to blur the AO pass along the surface of the geometry, to smooth out noisy sampling.
A test .blend file

I’d like to be able to blur the AO pass in post, in order to get away with having less samples (faster render time) and to prevent flickering during animation. However just evenly blurring across the entire AO pass image won’t work, as the shading will blur outside the edges of objects and look ugly. Photoshop has a filter called ‘smart blur’ which does some kind of edge detection and masking in order to only blur the smooth areas, and leave sharp areas intact. Something like that would be a help, but that’s just doing an edge detect on the image itself, which probably isn’t all that accurate. Since we have plenty of information about the objects’ 3D geometry in the compositor via the Normal and Z passes, we should be able to make better use of it, and make the blur mask based on that information, to blur the smooth areas of the surfaces, but not across edges or corners.
If I knew more about filter programming, I might have a go at this myself, otherwise consider this a feature request 🙂 I mocked up a test using a whole bunch of nodes – A screenshot of the node setup is below. Basically, it takes each of the normal channels, does an edge detect on them, then tweaks and combines them back together as a mask for a blur. I’m sure a properly coded approach would be much better, perhaps doing things like comparing normal vector angles, masking and sorting based on Z depth, etc. but the results I have already with nodes are decent. The example image above shows the render without AO, with 4 sample AO, and the same thing with the AO pass ‘surface blurred’. 4 samples is usually ridiculously low and noisy, but it’s not too bad with the blur. If anyone wants to have a go at coding this, I (and I’m sure many others) will be most delighted!
July 4th, 2006 .
Some of you may have seen the video tutorial I made a while ago demonstrating how to fake a layered car paint material using ramps. Now in the upcoming Blender 2.42, we have the new material node system, so there’s no need for fakery, and a lot more flexibility and control. As a proof of concept and a nice demo for the 2.42 release, I made up a node-based car paint material using a great VW beetle model by ‘pa-furijaz’ that I found on the Blender Model Repository.


June 16th, 2006 .
Today, Campbell ‘Ideasman’ Barton showed me a very cool .blend file he made to demonstrate Blender’s Array Modifier, new in the upcoming Blender version 2.42. I thought I’d light, comp and render it to make a nice demo movie to use in the 2.42 release documentation. The white 3D axes are the controller objects. Check it out:

November 14th, 2005 .
After a long time in limbo, and quite a few changes since I left it, the new Video Ezy website is up. Video Ezy is one of the largest video rental chains in Australia, akin to Blockbuster, and it was quite interesting following the process through the dealings with the franchisees.
I worked on it with Aaron and Pete while at @www, doing the page layout/template design, and also the 3D-but-not-3D ‘store browser’ thing on the front page, using Blender, Swift 3D (ugh) and Flash. Although the client has now put some questionable things in their free content areas and the e-shop backend was postponed, it’s not looking too bad.

October 11th, 2005 .
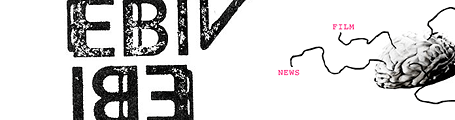
I’ve recently made a new website for ebivibe, a music video production collective in Sydney. Yesterday the final touches were applied and we launched it to www.ebivibe.com.
Big thanks to Kiku and the crew for putting up with all the tweaking and refines that took so long going back and forth around the globe while I’ve been here in Amsterdam. There’s some really cool work there, so go on and check it out.
September 3rd, 2004 .
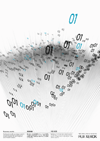
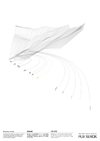
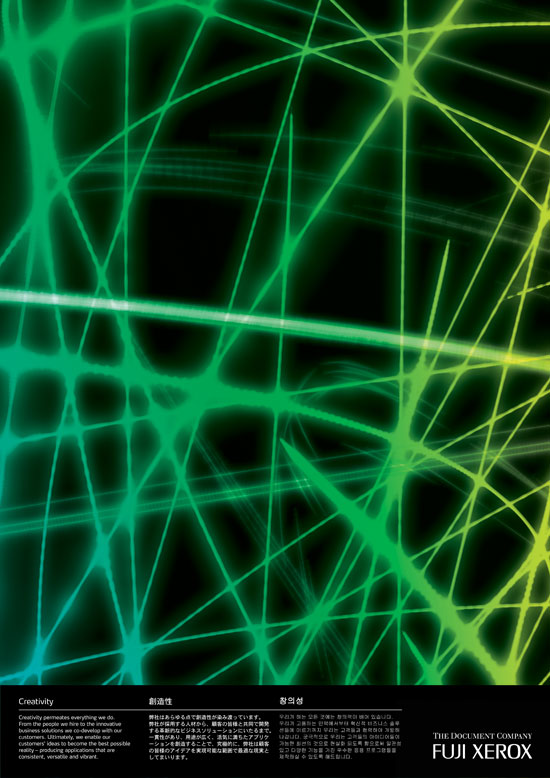
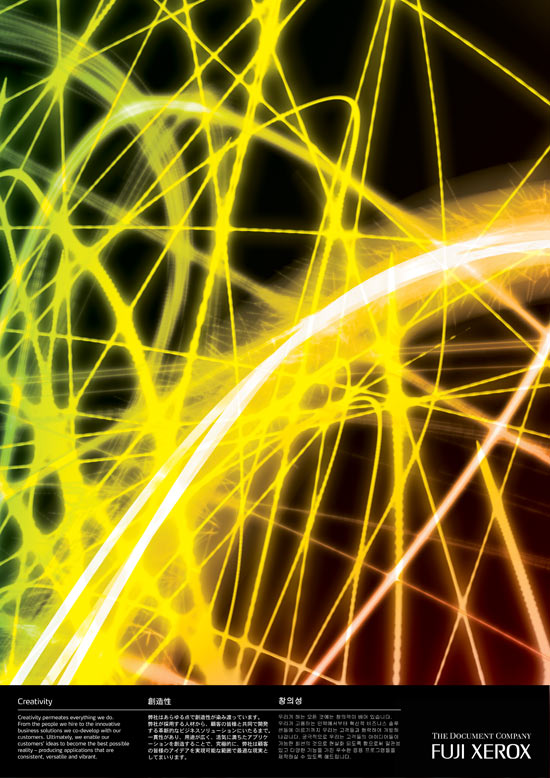
I recently completed some work, freelancing with LKS Design in North Sydney. The finished product is open and live now, so hopefully I won’t get in trouble for posting this here 🙂 The project was done for Fuji Xerox, who are opening four showrooms/exhibition spaces (called ‘epicenter‘) in Tokyo, Shanghai, Singapore and Sydney to promote and demonstrate their high-end printing equipment. The Tokyo site opened yesterday.
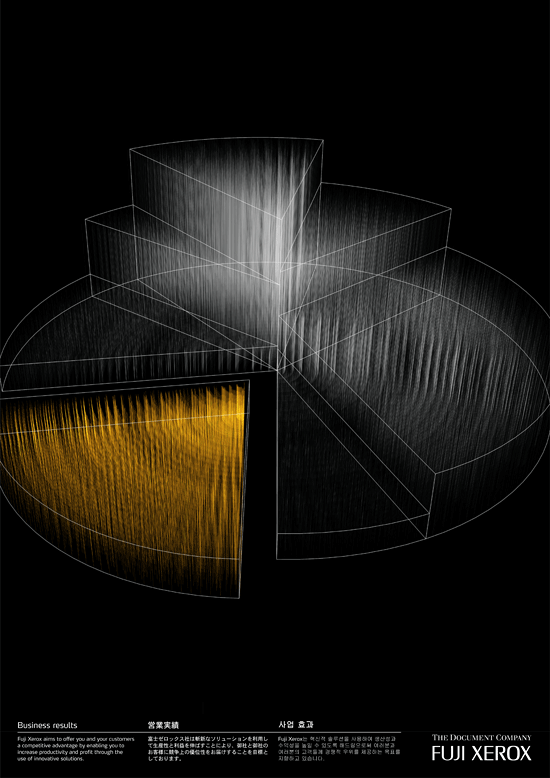
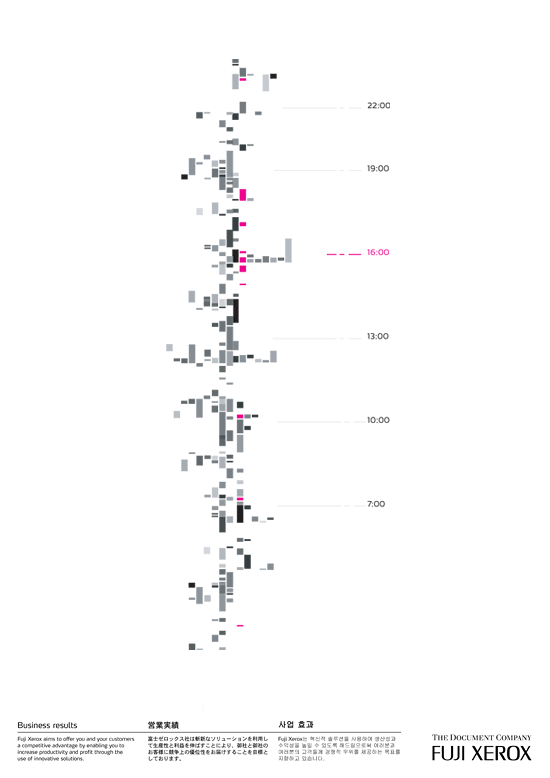
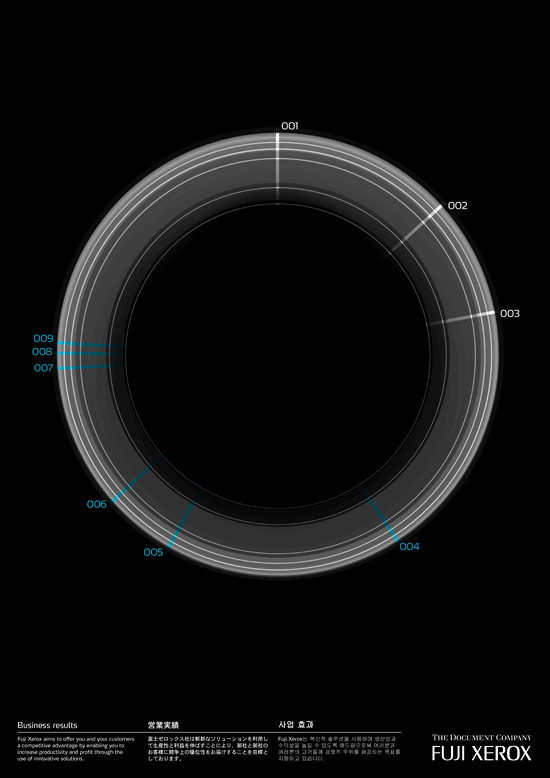
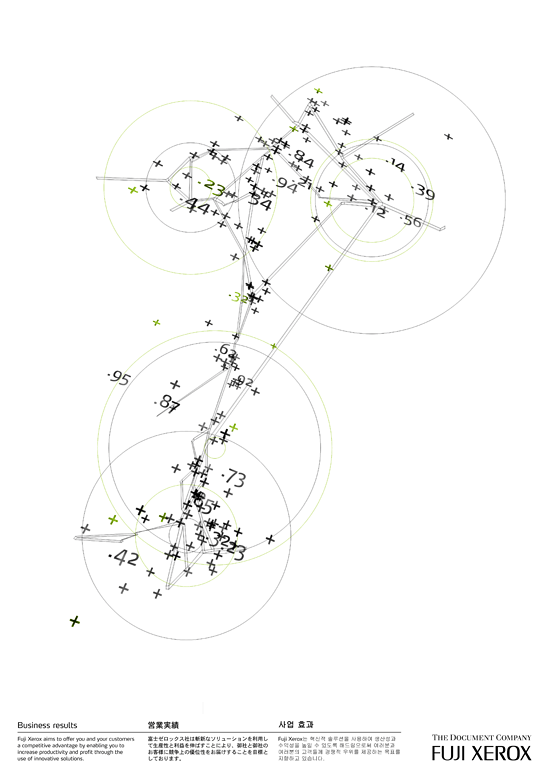
My main job consisted of creating an interactive kiosk display in Flash (microsite) for display on a huge 80″ plasma screen inside. Additionally, the epicenter contains around a hundred posters exhibited throughout the space, illustrating various ideals that they want to promote (eg. innovation, sustainable development, consistency of colour) that serve a dual purpose of showing off the print quality of their top hardware. I worked on two groups of these, business results and creativity, which was quite interesting.
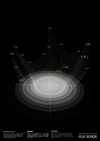
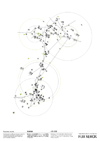
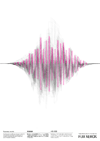
The first group was illustrating ‘business results’ with a series of experiments in information graphics, with sharp fine lines to emphasise precision:
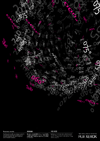


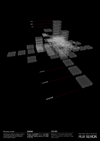

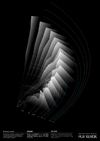

The other group was ‘creativity’. We worked with the very cool people at Engine who produced a video, some of it involving a scene where someone was ‘painting with light’ similar to what you can do with a sparkler candle in a photograph, but done in 3d. We wanted to use a still frame from it in the posters, but apparently they couldn’t render a file out of Maya that was high-res enough, and it was going to take them a long time to somehow break it up and render it with the detail that we wanted, too. So, I quickly recreated and rendered the whole thing in Blender, with our own special touches of nicer detail, colour and control over the layout across the posters 🙂 Unfortunately, one can’t get the real effect here, but these are suspended in the air in layers, and laid out so that from the angle you look at it in real life, the parts seem to match up.
All of these were rendered out at A3, 300dpi and printed on an iGen3. Unfortunately some of the fine lines in the pics here look a little jaggy since they’ve been resized down a lot.


